The snell is a bit of an odd knot. Most anglers don’t know how to tie it, largely because while it has advantages in certain fishing styles, it’s not nearly as versatile as other common connections. The primary use for a snell knot is securing a single hook to the end of the line for casting live or cut bait. It is, arguably, the strongest connection for the task, but it has benefits beyond strength. Here we’ll dive into everything you need to know aobut how to tie a snell knot.
Why a Snell Knot Works
Have you ever noticed that many bait hooks have an eye bent out at an angle perpendicular to the shank? That little feature helps a snell knot seat properly and firmly. A snell knot also keeps your hook perfectly in line with your line or leader, as there is really no way for it to twist, turn, or rotate, assuming you’ve tied it properly. This alignment means that when a fish grabs your bait, you’re more likely to achieve a fast, strong hook set, because you’ll always be pulling the hook point directly into the fish’s jaw.
Snell Knot Variations
The thing about the snell knot is that there are several ways to tie one. What I’m presenting here is my preferred method and the one I first learned, which I believe is the easiest. The caveat to my method is that it requires the line you’re using to be disconnected from the main line. In other words, you’d tie your hook to a length of leader first, then attach that leader to your main line. The snell knot can take a bit of practice to master, but if I’m fishing with bait on a single hook, it’s the only knot I’ll use because it rarely—if ever—fails.
Read Next: The Best Live Baits
Step 1: Lay one tag end of your leader parallel to the underside of the hook shank, making sure it just barely protrudes past the hook bend.
Step 2: Now, bring the other tag end around toward the hook bend, forming a wide loop. This tag end should end up lying parallel to the top of the hook shank and protrude slightly past the hook eye facing the opposite direction of the first tag.
Step 3: Pinch both tag ends against the hook making sure they stay on the top and bottom of the shank.
Step 4: Here comes the trickiest part. While holding everything in place with your fingers, grab the side of the loop below the hook closest to the hook eye. Begin winding this leg of the loop around the hook shank and over both tag ends. Five to seven turns are sufficient. Press the wraps against the pointer finger of the hand pinching the shank to stop them from unraveling.
Step 5: While keeping everything in place with the fingers pinching the shank, use your other hand to grab the tag end protruding past the hook eye. Begin pulling that tag end away from the hook, always keeping pressure on the wraps with your other hand to thwart coils loosening as they form.
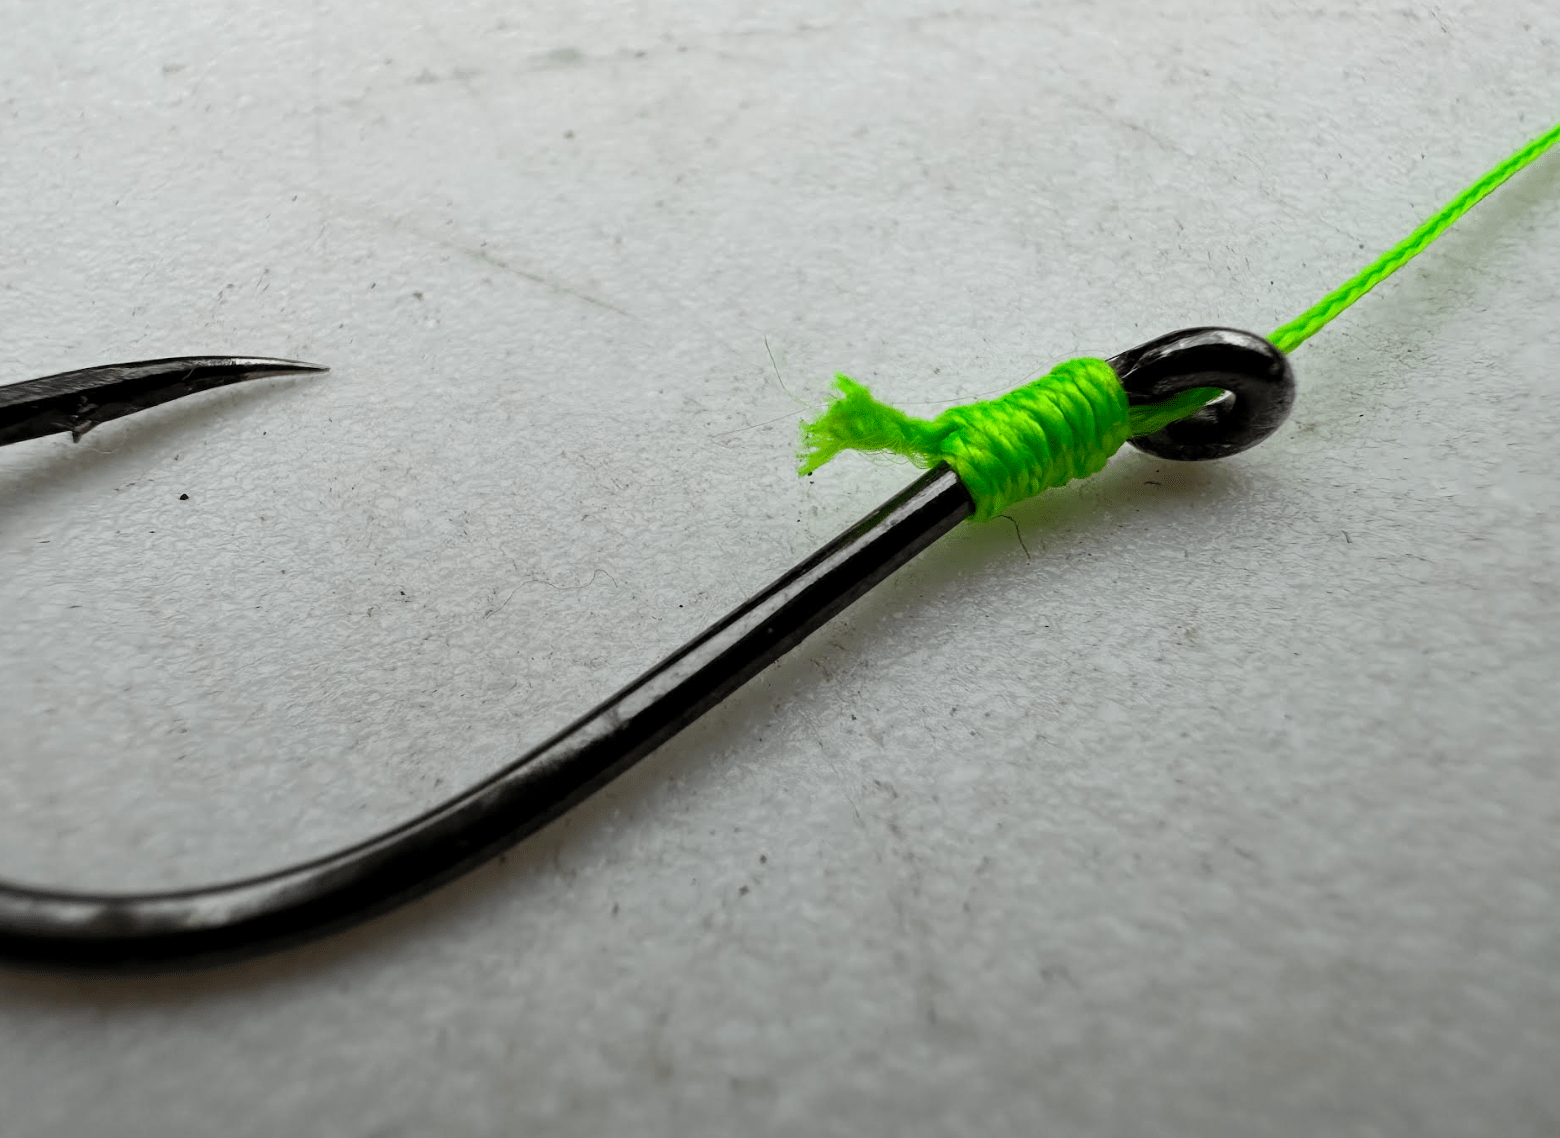
Step 6: Next, take the tag end you just pulled and feed it back through the hook eye from the underside. Pull it all the way through firmly to seat the snell knot properly behind the eye. Trim the rear tag end close to the knot.
Read Next: How to Tie a Fishing Knot
Final Thoughts on How to Tie a Snell Knot
While you can tie a snell knot with any kind of line in any diameter, it functions best with monofilament or fluorocarbon. These materials are stiffer than braided line, and as a snell’s coils create something like a collar around the hook shank, they make the connection point even stiffer. This helps to ensure that the hook stays in line with the leader at all times. Though a snell knot tied with braided line will still be strong, the thin, limp nature of the material won’t create the same inability for that hook to move and rotate.
Read the full article here