
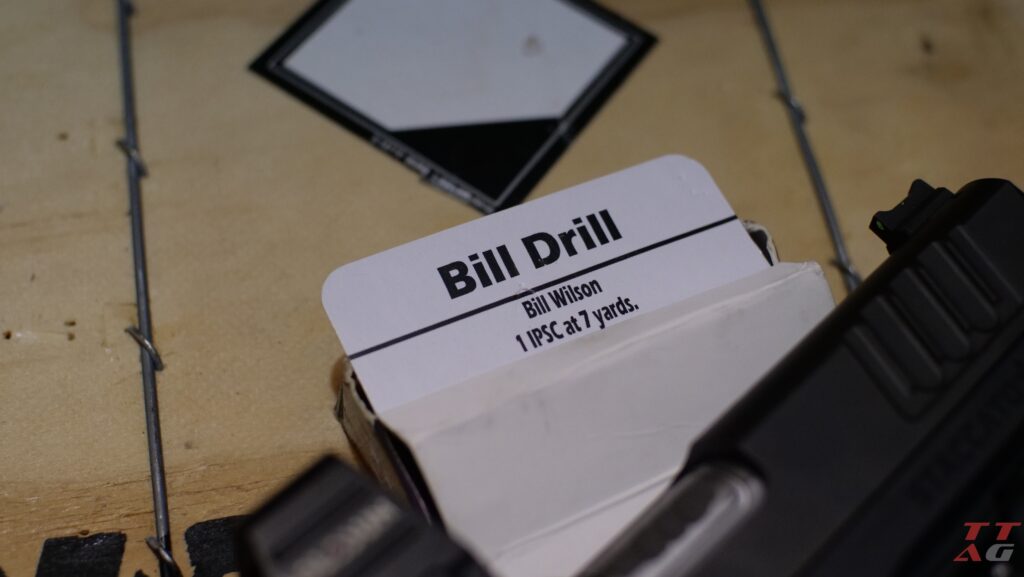
Most of you will already be familiar with this one. The infamous, or famous “Bill Drill” is a raw test of your control, accuracy, and speed, all combined into a quick, repeatable, and quite addictive 6-shot drill. With that being said, there are a lot of lessons we can draw out of this one relatively simple drill.
Today, we’ll take a look at the drill, how it’s done, and what type of equipment you’ll need to do the drill. As in previous editions of this series, I’ve selected this one at random from my Drill Index flash cards. This card is two-sided, so expect a future drill of the week to cover the flip side.
For now, the Bill drill is one that most of you can do at most ranges where you’re allowed to draw from a holster. You’ll need a minimum of 7 yards to do this drill in its standard form, but the bill drill can be performed at 3 different lengths, with 5 yards and 3 yards making up the other two distances you test at.
The variation in distances quickly changes what area of performance becomes the greatest focus, whether that’s trigger control, staying relaxed, or how accurate and fast your draw is. Either way you slice it, there is a reason this drill is so popular – it’s a chance for you to test virtually everything you’re supposed to be proficient at as a handgun shooter.
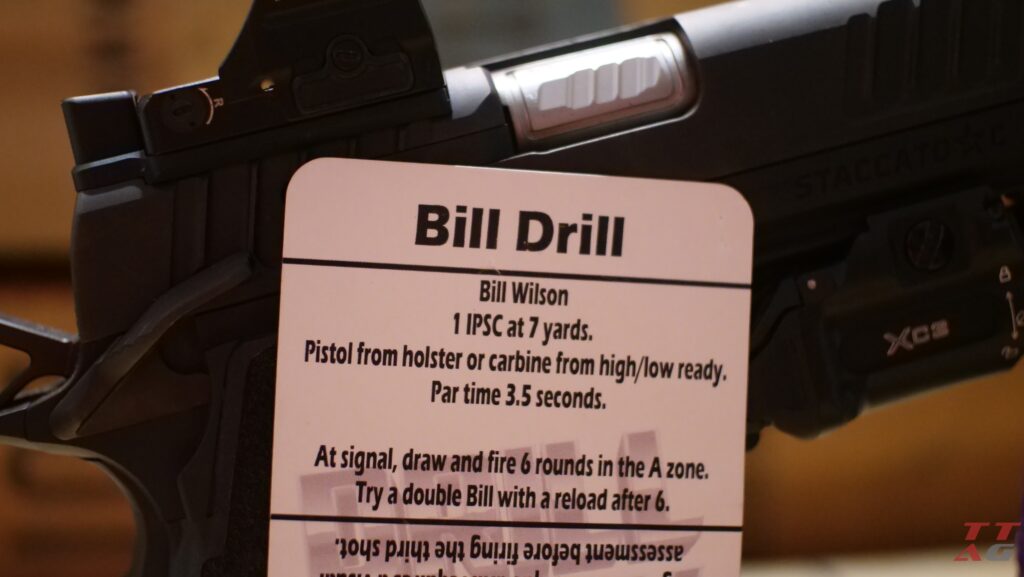
Drill of the Week: The Bill Drill
Most popularly attributed to the founder of Wilson Combat, Bill Wilson, the Bill Drill, like I said earlier, is probably one of the most popular, if not the most popular, skill tests/drills in the defensive, practical, and tactical shooting world.
Although it is called a “Drill,” the bill Drill is actually often done as a “cold” test of skill rather than repeated ad nauseam to get a progressively better total time/score as you warm up. However, that’s never stopped anyone from using hundreds of rounds in the name of chasing a better time.
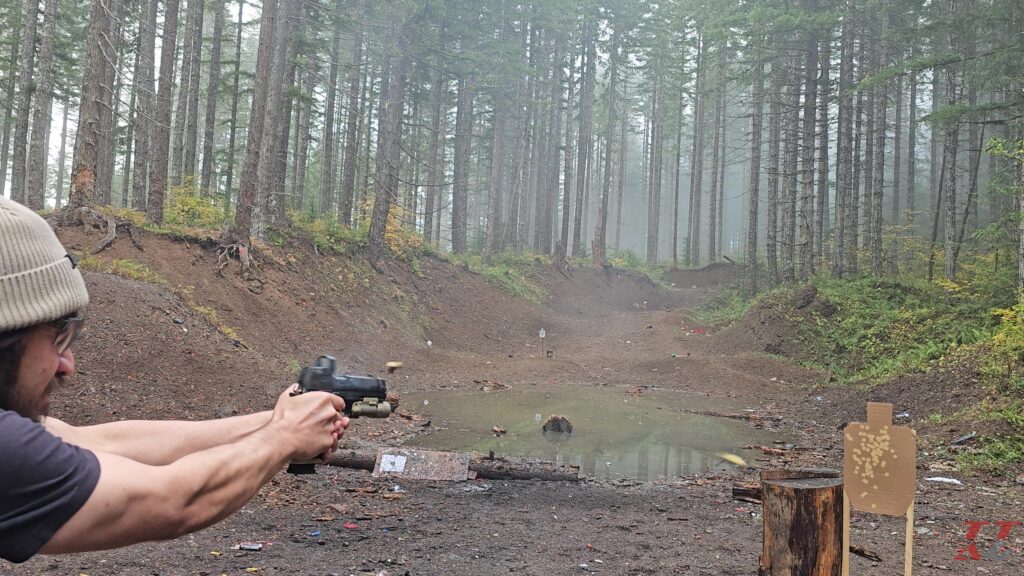
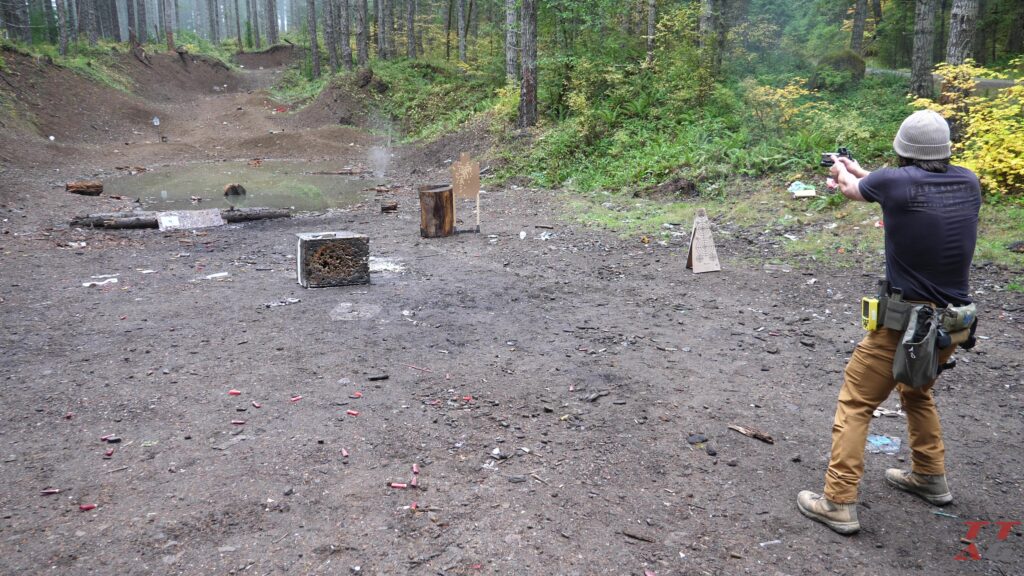
Find yourself 7 yards of shooting space, a USPSA/IPSC or A-zone steel target, and top up your mags, rack a round into the chamber, holster your gun, and get ready for a short but frustrating drill.
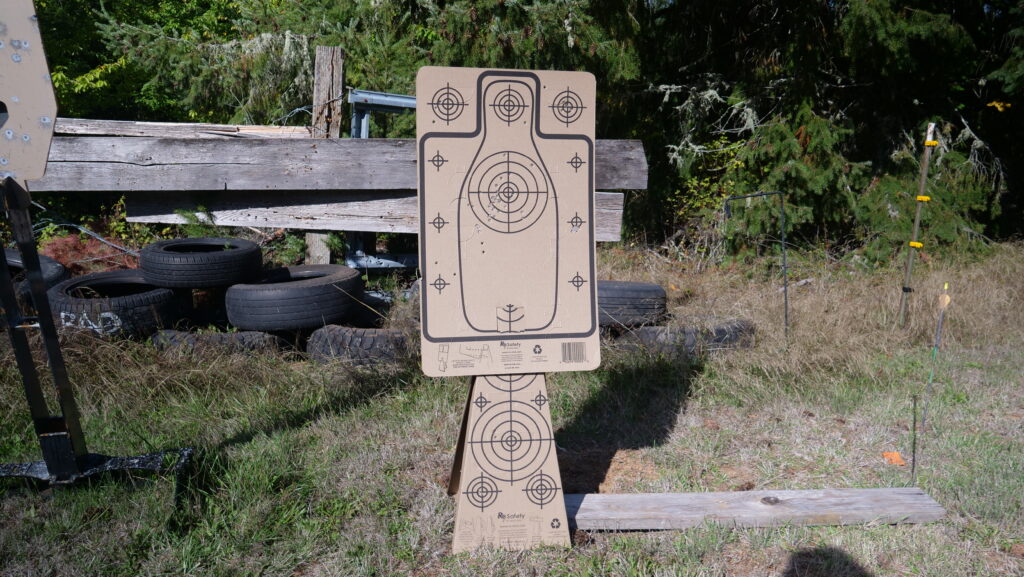
I once again have been using the Re-Nine safety targets system for these drills, mixed in with barely used official USPSA targets I find discarded at the range (great way to save money!). This time, instead of a cardboard stand, I’m using one of their Compact 1×2 target stands to hang their silhouette target.
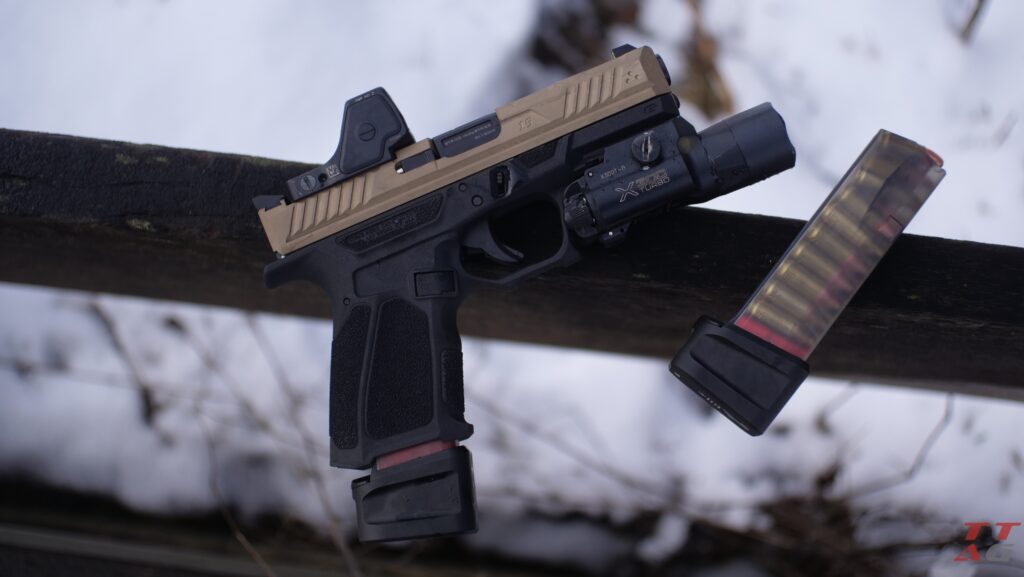
This drill can be done with any handgun that can fit in a holster and can even be adapted to rifles and PDWs when practiced from the low ready position.
If you can repeatedly do well with this drill from “cold” at your range sessions, it’s typically a sign that your handgun skills are fairly well developed.
Setup and Instructions
- Load your handgun with at least six rounds and holster from 3, 5, or 7 yards
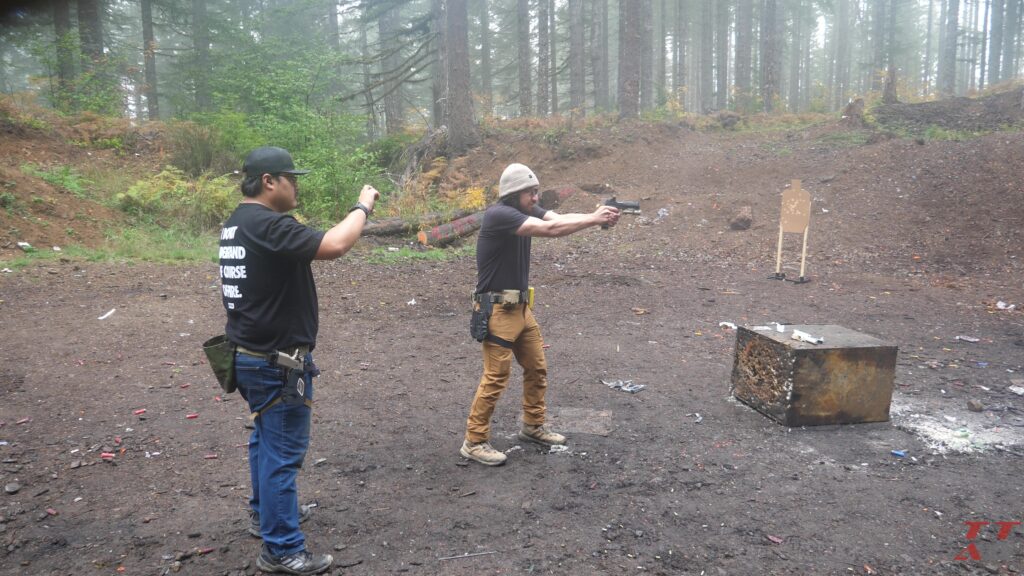
- Take your starting position (hands at sides or in a surrender position, I’ve seen it done both ways).
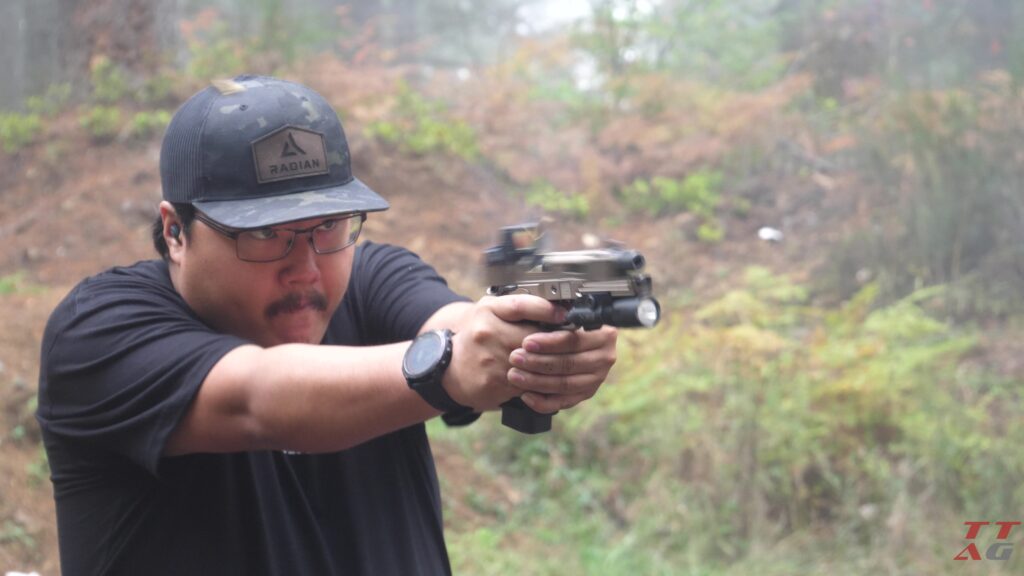
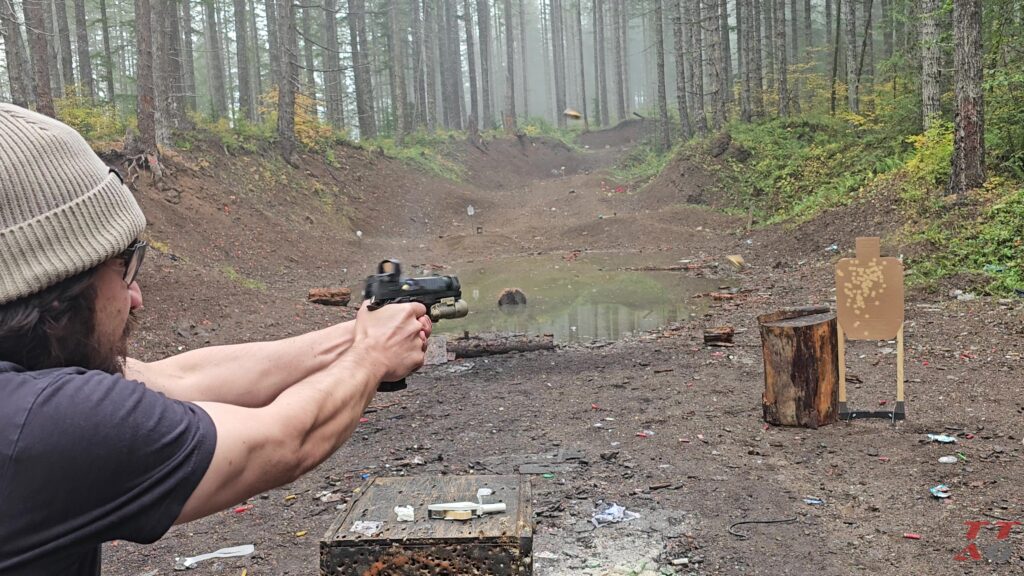
- At the beep, draw your handgun from the holster. Your focus should be on establishing a fast, correct, and solid grip from the beginning, as this is crucial for recoil management.
- Engage the target by firing six rapid, controlled shots into the “A” zone (center mass) as quickly as you can while maintaining accuracy.
- Score the target. All six shots must land in the “A” zone to consider the run successful, although if you’re looking simply to improve your practice shooting skills, Ben Stoeger says that occasional “Cs” are acceptable at “longer ranges”. Typically, for “official” runs, any shots outside this zone mean you have failed the drill, or points are deducted/time is added, depending on the scoring method (e.g., IDPA scoring adds time for misses).
3 Yards
One of the most difficult parts for me to get over, even at the 3-yard distance, is one factor that I think many other shooters fail to consider. Staying relaxed in your shooting posture while trying to go fast is almost counterintuitive, but it is actually often the secret to having a much faster and more accurate performance when it comes to shooting quickly and accurately.
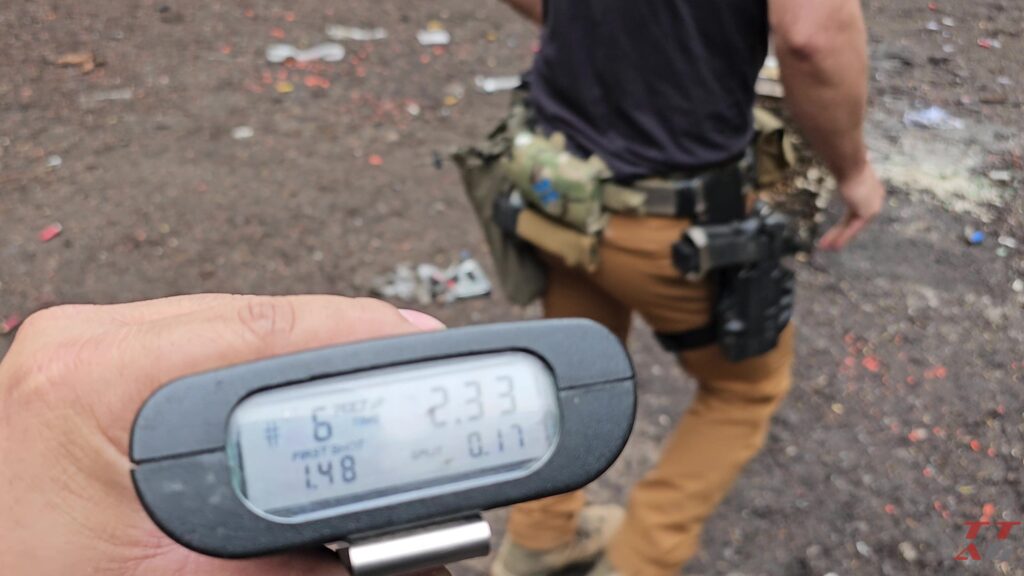
It is very easy to tense up when you’re trying to shoot fast, and when you do tense up in the quest to be faster, you’re inevitably going to get in your own way, and this often manifests in the form of trigger freeze. Many shooting instructors have told me that a good time at this distance with the draw is 1.7 seconds.
5 Yards
As the distance gets pushed out, you’ll need to add back in a bit more control, but you should still more or less be using the back of your gun to aim rather than your dot or your sights. At 5 yards, you should still be shooting nearly as fast as at 3 yards, with the only difference being the slight bit of extra sight confirmation you need here to make sure your gun is aligned with the target. Again, all “As” should be the goal here, and most shooting instructors have told me that a good par time to aim for is 1.8 seconds or less.
7 Yards (The Stanard)
If we push out to 7 yards, which is the “standard” distance for this drill, and will really test out your trigger control and how good a grip you have. At closer distances, it’s easy to mask some poor performance on things like your grip and even your alignment (at 3 yards, you can almost do the drill blind folded).
However, at the standard distance of 7 yards, the speed and accuracy of your draw really get tested, as does your grip, as a poor grip will lead to your 6-shot string landing you a few “Cs” or “Ds.”
Share Your Results
With the primary goal being to shoot fast and accurately, it’s obvious that this drill is kind of meant to train you to learn what you’re capable of accurately shooting at various distances. Although this drill is extremely common, if your goal is Practical Shooting Sports, shotoing doubles is a far more helpful exercise, and is one that actually benefits from you repeating it many times in a row.
Most shooting sports won’t require you to dump 6 rounds into one target. However, when it comes to tactical and defensive shooting, I think the drill might speak for itself when it comes to its efficacy in this specific area.
As always, let me know what you guys think of this drill, what you would like to see in future editions of Drill of the Week, and, of course, what your results were from the range. Also, a big thank you, as always, to Re-Nine Safety for providing the targets for this series, and Drill Index and Bill Wilson for inspiring this week’s drill. Catch you guys again next week!
Past Drills of the Week:
Read the full article here